If your Salesforce organization has both Approvals and Chatter enabled, your administrators and users can receive approval requests as posts in their Chatter feeds. You can customize the approval request post by creating unique post templates and associating them with your approval processes.
Only users with access to the approval record can see the approval request post. Comments on approval posts aren’t persisted to the approval record.
Steps to make the Approvals in Chatter:
Step 1:
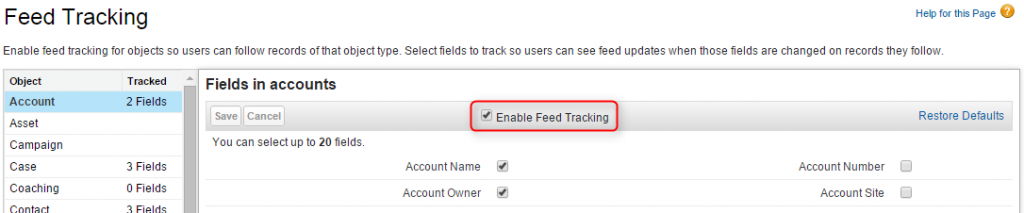
Enable Chatter Feed tracking by using the following steps:
Select Setup -> Customize -> Chatter -> Feed Tracking -> Choose your object -> Enable Feed Tracking.
Step 2:
Enable Allow Approvals in Chatter by using the following steps
Select Setup -> Customize -> Chatter -> Settings -> Edit -> Enable Allow Approvals

Step 3:
Create a new Approval Post Template
Approval post template is mainly used to display approval request with the fields that you want to display in the chatter feed.
Steps to create a new Approval Post Template
Step 3.1:
Select – > Setup -> Create -> Workflow and Approvals -> Post Template
Step 3.2:
Click on New Template and select the object for the post template created and click next.
Step 3.3:
Enter the name for the post template and move the fields to Selected Fields column for displaying those fields on the Approval request in the Chatter.
Enable Default Check box, if you want to use the post template by default.
Points to be considered while creating Approval Post Template:
- You cannot delete the approval post template while it is used by any approval process.
- If you rename the custom object, the associated approval post template will be changed accordingly.
- Users who receive the approval request via Chatter receive an email notification and a post in the chatter feed.
- The post template are available in the Salesforce Change Set, so you can easily move your post template from sandbox to production.
- If you choose your approval object for a detail in a master detail relationship, the record owner field will not be available for the approval page layouts or post templates
- If you update the approval step name or approver while it’s in progress, the existing approval posts will not get update.
Steps to add post template in Approval process:
Step 1:
Create a new Approval process for the object that you want to add post template and then enter the Entry criteria and click next.
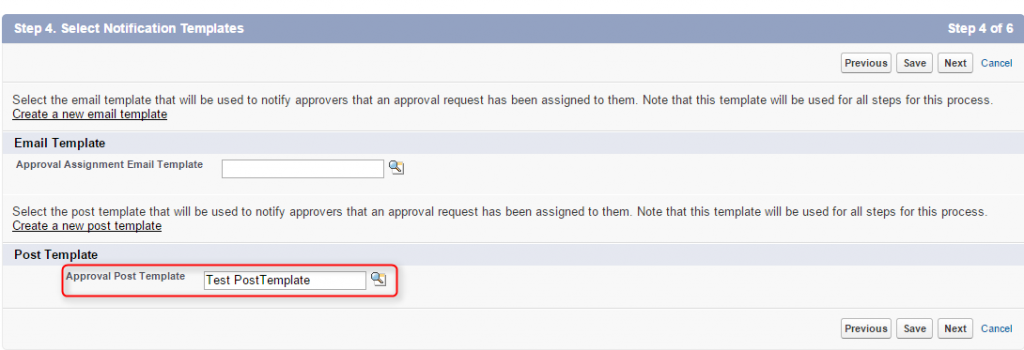
Step 2:
At Step 4 in Approval process, choose your post template from Approval post template lookup that will be used to notify the approvers and then click next.
Step 3:
Once the Approval process has been activated, then create a record that meets criteria and then click on submit for approval.
Step 4:
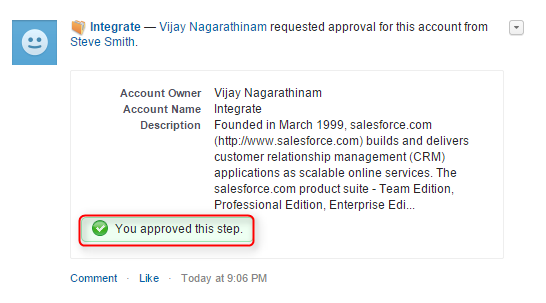
Then the notification will be available at the Chatter for the user whom you assigned the approval request.

Step 5:
Then, the user can either approve or reject the request using Chatter.
Limitations:
- Delegated approvers or queues is not supported for the approvals in chatter.
- Approval request from sites or portal users are not supported.
- It’s not possible to recall or reassign the approval request from Chatter post.
- You cannot delete the approved records in the Salesforce user interface.
Reference:
