What is ArcGIS Online
ArcGIS online is a cloud-based mapping platform for organizations. Using this tool, users can get access to dynamic, authoritative content to create, collaborate, and share maps, data, and applications with each other, the entire organization, or the public. Organizations get access to the Esri cloud through ArcGIS Online, which is scalable and ready to use. ArcGIS Online doesn’t not require any additional hardware or software and you can get this through an annual subscription.
Map in ArcGIS Online
ArcGIS map is an interactive map that displays geographic information to give details. It includes multiscale base maps for wide audience, operational layer for specific audience and information pop-ups that allow user to drill into specific features. It also supports visualization, editing, analysis, and time.
Map view
Using ArcGIS API for JavaScript and ArcGIS Online, you can create 2D web mapping app that displays a basemap and layer. Map view must be created along with its operational and base layers. Map view handles the interaction between the user and the map.
Steps to create Map view
1.Reference the ArcGIS API for JavaScript
<!DOCTYPE html>
<html>
<head>
<meta charset=”utf-8″>
<meta name=”viewport” content=”initial-scale=1, maximum-scale=1, user-scalable=no”>
<title>Get started with MapView – Create a 2D map</title>
</head>
</html>
2.Load the modules
<script>
require([
“esri/Map”,
“esri/views/MapView”,
“dojo/domReady!”
], function(Map, MapView) {
// Code to create the map and view will go here
});
</script>
3.Create the map
require([
“esri/Map”,
“esri/views/MapView”,
“dojo/domReady!”
], function(Map, MapView) {
var map = new Map({
basemap: “streets”
});
});
4.Create a 2D view
require([
“esri/Map”,
“esri/views/MapView”,
“dojo/domReady!”
], function(Map, MapView) {
var map = new Map({
basemap: “streets”
});
var view = new MapView({
container: “viewDiv”, // Reference to the DOM node that will contain the view
map: map // References the map object created in step 3
});
});
5.Define the page content
<body>
<div id=”viewDiv”></div>
</body>
6.Style the page
<style>
html, body, #viewDiv {
padding: 0;
margin: 0;
height: 100%;
width: 100%;
}
</style>
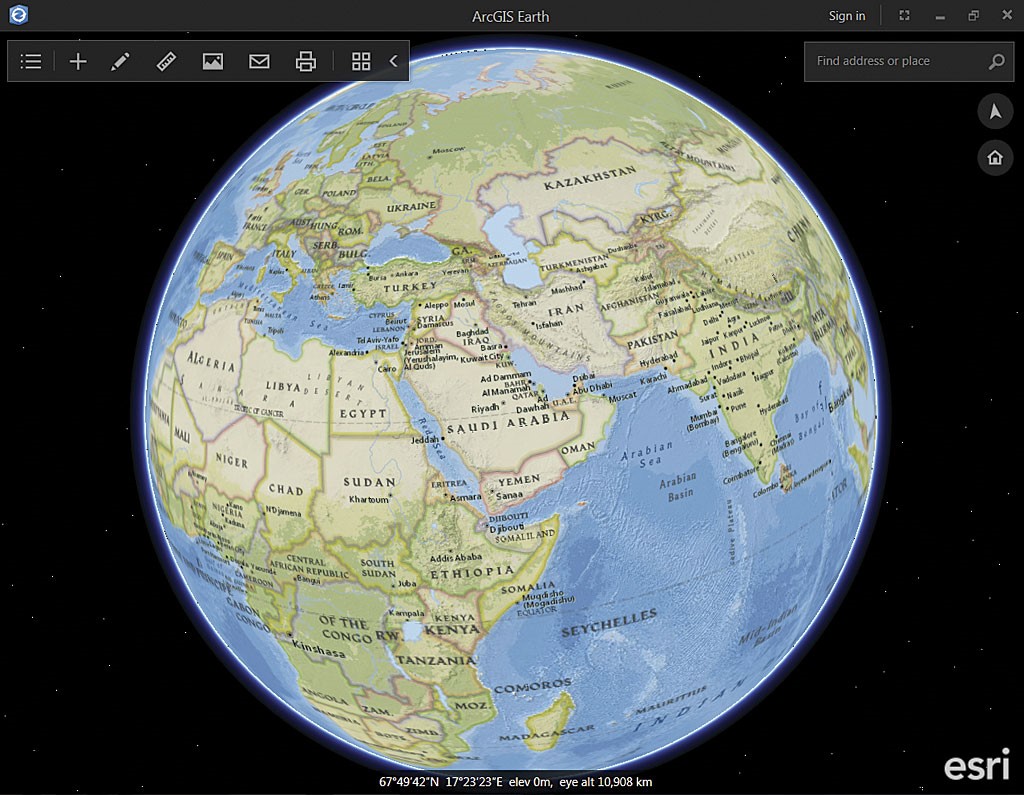
Scene view
Scene view displays a 3D view of Map. Using ArcGIS API for JavaScript and ArcGIS Online, you can create 3D web mapping app that displays a basemap and layer. Scene view must have Map instance and DOM element with non-zero height and width to render and there must be valid data in the map such as operational layers and basemap.
Steps to create Scene view
1.Reference the ArcGIS API for JavaScript
<!DOCTYPE html>
<html>
<head>
<meta charset=”utf-8″>
<meta name=”viewport” content=”initial-scale=1, maximum-scale=1, user-scalable=no”>
<title>Get started with SceneView – Create a 3D map</title>
</head>
</html>
2.Load the modules
<script>
require([
“esri/Map”,
“esri/views/SceneView”,
“dojo/domReady!”
], function(Map, SceneView) {
// Code to create the map and view will go here
});
</script>
3.Create the map
require([
“esri/Map”,
“esri/views/SceneView”,
“dojo/domReady!”
], function(Map, SceneView) {
var map = new Map({
basemap: “streets”,
ground: “world-elevation”
});
});
4.Create a 3D view
require([
“esri/Map”,
“esri/views/SceneView”,
“dojo/domReady!”
], function(Map, SceneView) {
var map = new Map({
basemap: “streets”,
ground: “world-elevation”
});
var view = new SceneView({
container: “viewDiv”, // Reference to the DOM node that will contain the view
map: map // References the map object created in step 3
});
});
5.Define the page content
<body>
<div id=”viewDiv”></div>
</body>
6.Style the page
<style>
html, body, #viewDiv {
padding: 0;
margin: 0;
height: 100%;
width: 100%;
}
</style>
Scene view Output:
Search and Geocode
With the ArcGIS API for JavaScript, you can use the Search widget to find the location around the world. Here ArcGIS World Geocoding Service used as the default locator which can search for locations.
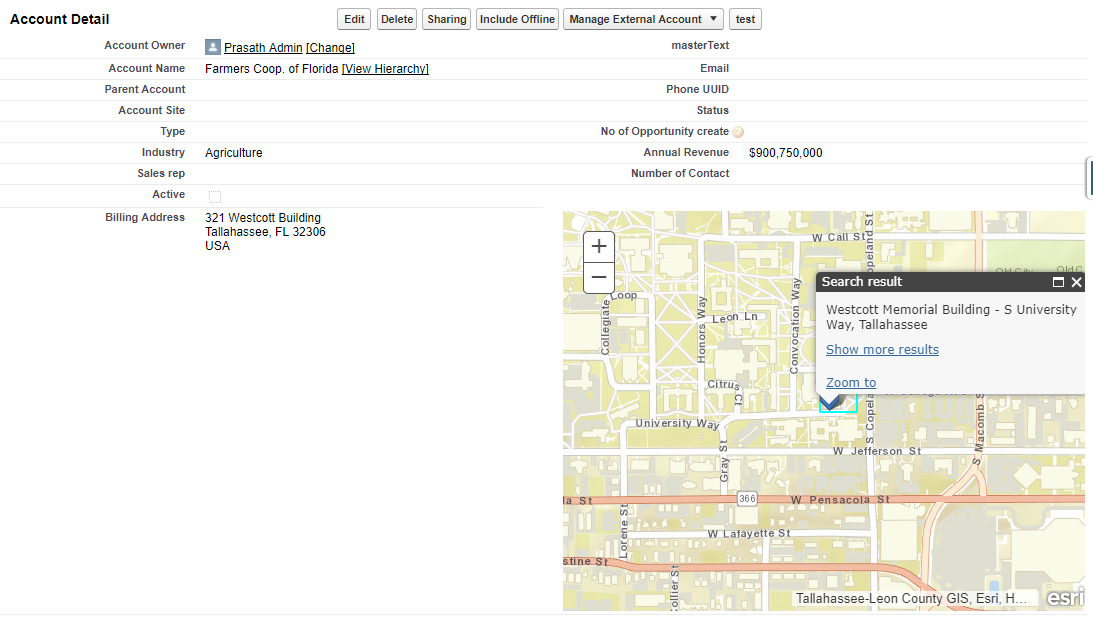
Use Case for Search and Geocode
Display the Location information stored with Account (It can be any object in Salesforce) in map as a marker as part of Object Detail page.
Code
<apex:page standardController=”Account”>
<head>
<link rel=”stylesheet” href=”https://js.arcgis.com/3.20/dijit/themes/tundra/tundra.css”/>
<link rel=”stylesheet” href=”https://js.arcgis.com/3.20/esri/css/esri.css”/>
<style>
html,
body,
#map {
height: 100%;
width: 100%;
margin: 0;
padding: 0;
}
.shadow {
box-shadow: 0 0 5px #888;
}
#map {
margin: 0;
padding: 0;
}
</style>
<script src=”https://js.arcgis.com/3.20/”></script>
<script>
require([
“esri/map”,
“esri/dijit/Search”,
“esri/symbols/Font”,
“esri/geometry/Point”,
“esri/SpatialReference”,
“esri/symbols/SimpleMarkerSymbol”,
“esri/symbols/PictureMarkerSymbol”,
“esri/symbols/SimpleLineSymbol”,
“esri/Color”,
“esri/symbols/TextSymbol”,
“dijit/registry”,
“dijit/form/Button”,
“dojo/parser”,
“dijit/layout/BorderContainer”,
“dijit/layout/ContentPane”,
“dojo/domReady!”
], function (
Map, Search, Font, Point, SpatialReference, SimpleMarkerSymbol, PictureMarkerSymbol, SimpleLineSymbol, Color, TextSymbol, registry, Button, parser)
{
//If multiple results are found, it will default and select the first.
var map = new Map(“map”, {
basemap: “streets”,
center: [address], // lon, lat
});
//Do not provide a srcNode dom for the Search widget as the UI is not displayed.
var search = new Search({
enableLabel: false,
enableInfoWindow: true,
map: map
}, “”);
var address = “{!Account.BillingStreet}, ” + “{!Account.BillingCity}, ” + “{!Account.BillingPostalCode}, ” + “{!Account.BillingCountry}”;
search.search(address);
});
</script>
</head>
<body class=”tundra”>
<div style=”width: 100%; height: 100%; margin: 0;”>
<div id=”map”>
</div>
</div>
</body>
</apex:page>
Output:
References
https://developers.arcgis.com/
https://developers.arcgis.com/javascript/latest/api-reference/index.html
https://learn.arcgis.com/en/projects/get-started-with-arcgis-online/
