Introduction
HubSpot is a Marketing and Sales software. This CRM gives the power to manage all contacts and deals efficiently. HubSpot can be integrated with Salesforce and the contacts can be imported and synchronized. Adjust the HubSpot contact properties to reflect the changes from one system to another. This tool helps us track leads and acts as a bridge between marketing database and sales database.
HubSpot installation
Create a new HubSpot Marketing account and navigate to Account menu -> Integrations
Under “All integrations” tab, search Salesforce integration and follow the steps.
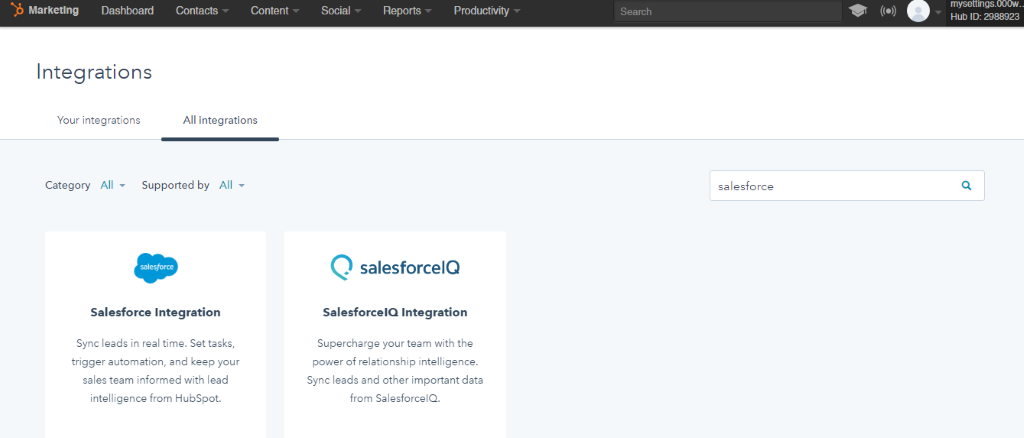
These steps will take us to the installation of HubSpot in Salesforce org. If it is not already installed, click “Read the guide” and follow the steps.
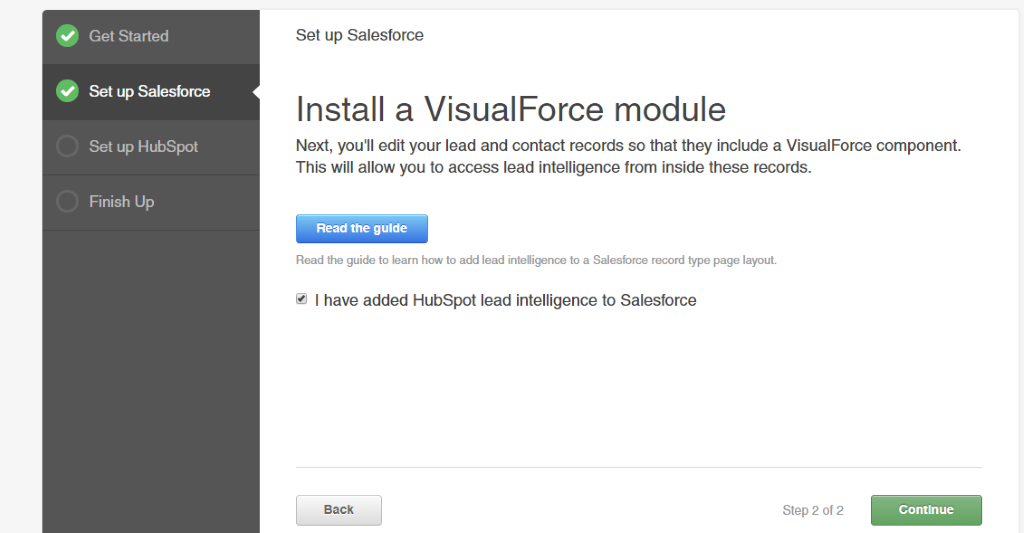
Click Start Package installation. It opens Salesforce account and starts the installation of HubSpot integration package. Once the package is installed, click continue and follow the steps.
The VisualForce module is installed to edit lead and contact records. This takes the full advantage of HubSpot and Salesforce integration.
On Contact sync, HubSpot has options to sync Account and Opportunity associated with syncing contacts.
To Map Contact Properties
When the HubSpot Contact form is submitted with Contact details, the Contact data gets stored in HubSpot and the integration between Salesforce and HubSpot begins. We need to ensure that the fields are correctly syncing with the fields in Salesforce.
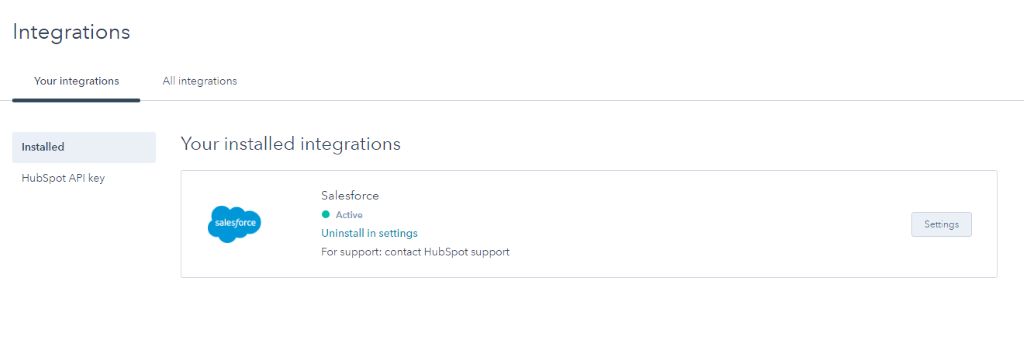
The embedded code of the contact form can be used in an external website to collect the information. To map contact properties, Click Account menu -> Integrations.
Click Settings within Salesforce section.
On the left side menu, choose Contact Field Mappings.
In the field mapping settings, a new field can be mapped or an existing field’s mapping can be changed.
The important setting on mapping the field is to configure the HubSpot as to when and from where the data should get updated.
Always prefer “Use most recent value” to populate the recent changes on both the direction.
Contact Form
The contact form can be created and from Contacts – > Forms
Copy the embedded code and use it in an external website or create the website pages/Landing Pages from Content Menu and use the Add to Form module created in the page.
To add a Form created in the webpage:
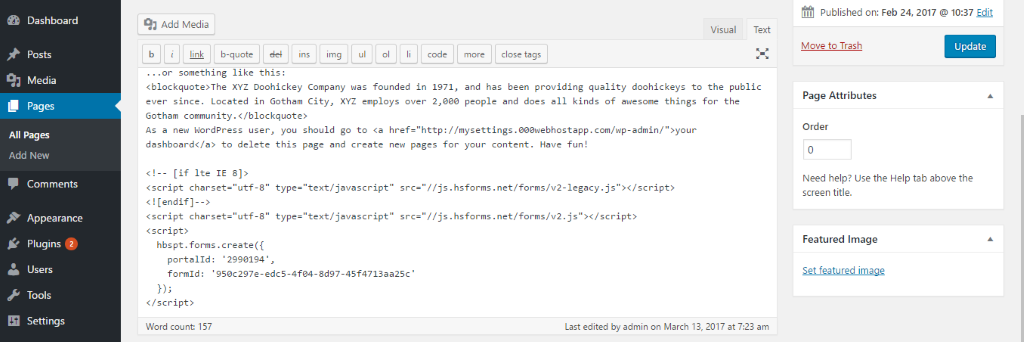
HubSpot Contact Form in WordPress.
WordPress is a OpenSource software, which is built on PHP. This CMS is used to create user-friendly websites. HubSpot contact form can be used in the wordpress website by adding embedded code in the page/ post.
Log into your WordPress admin panel and navigate to the page where you want the contact form to be displayed. Now, add the copied embedded code in the page.
Now the form in wordpress page looks like this
The redirection or displaying “Thank you page” after the form submission all can be customized in the HubSpot.
Tracking Code for WordPress
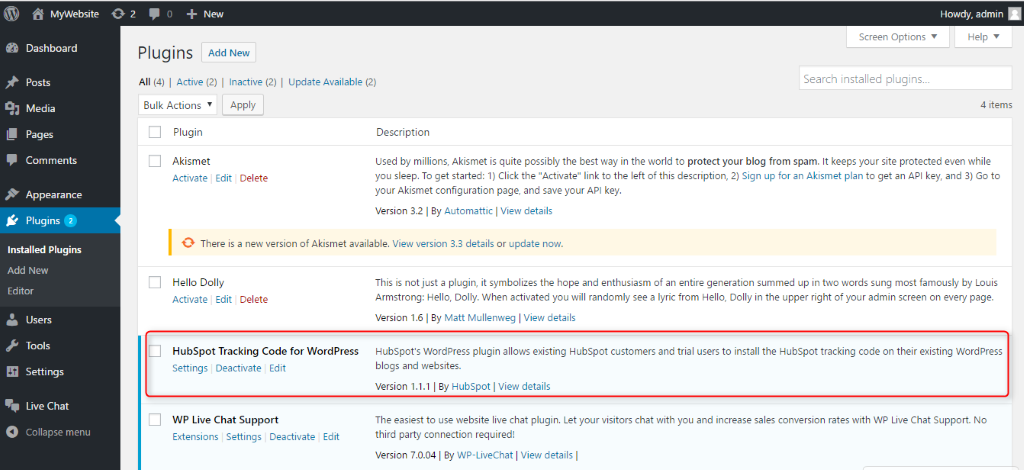
Install the “HubSpot Tracking Code” plugin for wordpress. This allows HubSpot to track the usage information, so that we can serve better to our customers.
Click Settings -> HubSpot Settings and enter the HubSpot ID.
Summary
The sync between HubSpot and Salesforce triggers every 15 minutes. The sync can be also triggered manually. HubSpot dashboard displays the overall activity and health of marketing efforts. Marketer can also see total number of visitors to the website, contacts generated within the specified time frame. The dashboard view can also be customized.
HubSpot gives the ability to manage all your contacts and deals without complex reports. You may go through the reference links given below to learn other interesting advantages and features that helps businesses grow their revenue and ROI.
Web References
