Introduction
Salesforce for Outlook merges Salesforce data with Microsoft Outlook and vice versa. We can merge Contacts, Events, and Tasks using Salesforce for Outlook. We should enable Outlook Configuration option to connect any Salesforce organization with the outlook. It loads all Contact records from the Contact object to the Outlook.
Prerequisites for Enabling Salesforce for Outlook
Salesforce for Outlook needs some software requirements. Its version changes whenever the software update happens; so, we should check for current version before starting the synchronization process by navigating to
My Settings –> Desktop Add-Ons –> Salesforce for Outlook –> Check Requirements.
Task and Events can be synchronized only when the time zone between the Salesforce organization and the system are same. Otherwise, we cannot synchronize the Tasks and Events in Salesforce for Outlook.
Steps to Implement Salesforce for Outlook
Step 1: Setup [Symbol] Outlook Configuration [Symbol] New Outlook Configuration [Symbol] User or Profile [Symbol] Set the configuration to implement the Synchronization between Outlook and Salesforce[Symbol] Click Save.
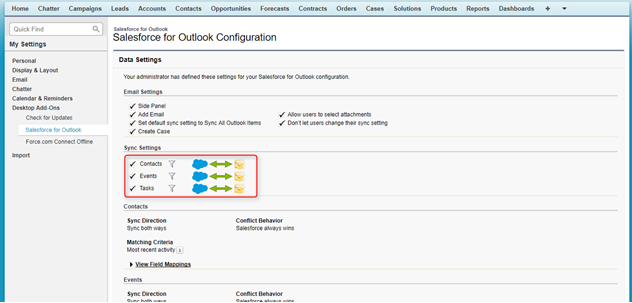
Based on the configuration settings defined by Salesforce Administrator, users can perform synchronization between Salesforce and Outlook.
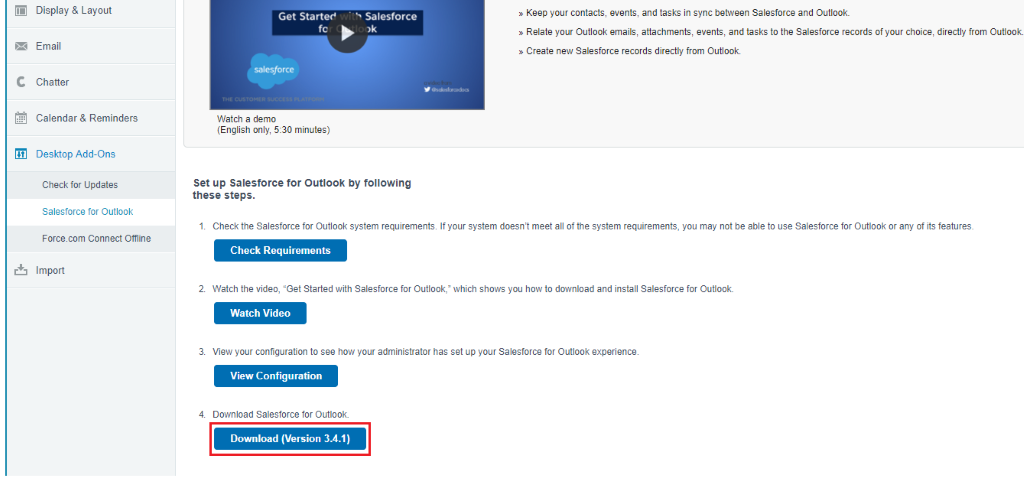
Step 2: Go to My Settings [Symbol] Desktop Add-Ons [Symbol] Salesforce for Outlook [Symbol] Download Salesforce for Outlook.
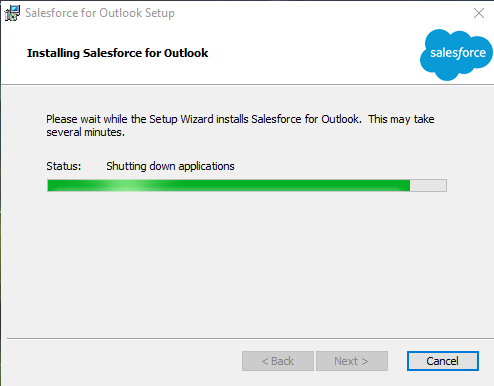
Step 3: After downloading Salesforce for Outlook, install it on the local machine. Installation process takes place as shown below:
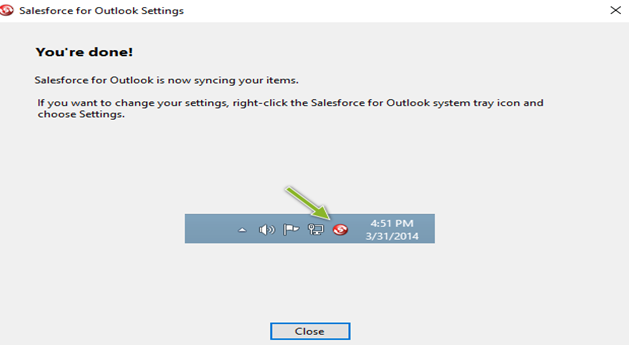
Step 4: After finishing Salesforce for Outlook installation, we can find the Salesforce for Outlook icon in the system tray as shown below.
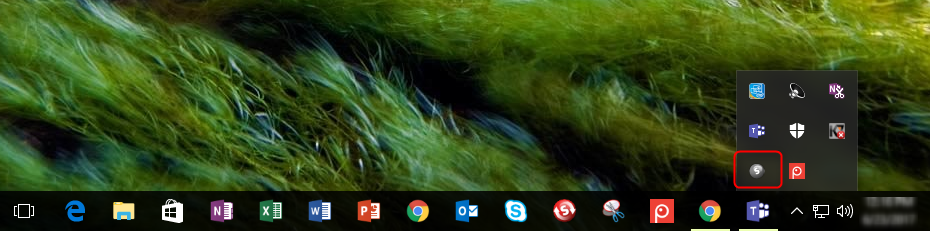
Once Salesforce for Outlook is connected, this Salesforce for Outlook icon present in the system tray gets changed to Red color.
Step 5: Right click on ’Salesforce for Outlook’ icon [Symbol] Click Settings.
A new window will be open where we must enter Salesforce credentials like Username, Password and login to sync Contacts, Tasks, Events then Click Next.
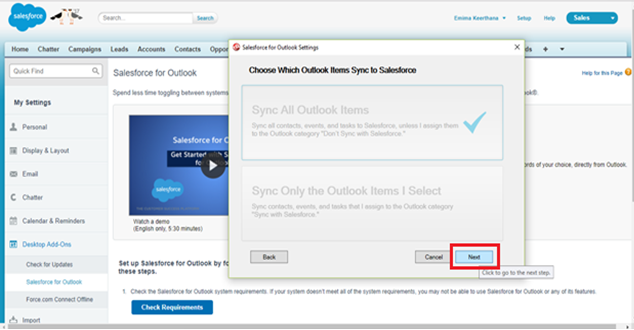
Step 6: Here we can choose the private Contacts, Events and Tasks that enables us to,
| Environment | Private Contacts | Private Events | Private Tasks |
| Outlook | Only Admin can see the contacts. Other Users cannot. | Only Admin can see the Events. Other Users cannot. | Only Admin can see the Tasks. Other Users cannot. |
| Salesforce | Contacts that are not associated with the Accounts are considered Private. Only Salesforce Admin can view, edit and report. | Salesforce Admin can view, edit and report on Events. All other users can view only the time details. | Salesforce doesn’t have any Private tasks. All users can view the tasks. |
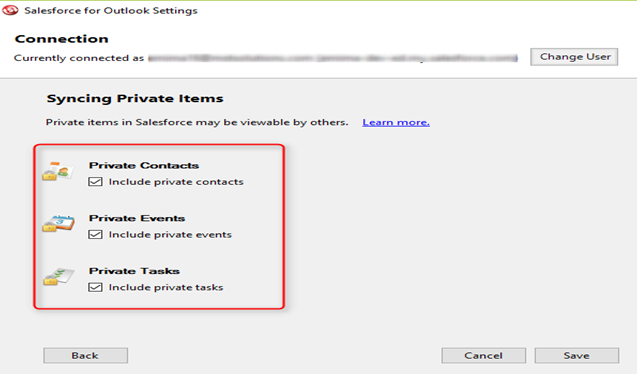
In this stage, if we wish to change the user, we can achieve it by clicking ’Change User’ button.
Step 7: After successful completion of configuration, the following window appears where Salesforce for Outlook icon gets changed to the red color that indicates the confirmation.
Go to Outlook [Symbol] Contacts [Symbol] Select the desired contact. Here, we can find the Contact Name called ‘Test Contact’ in Outlook.
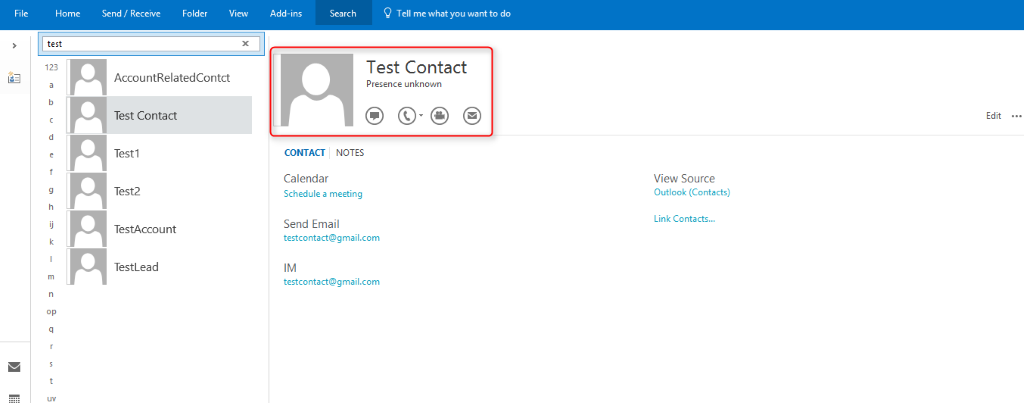
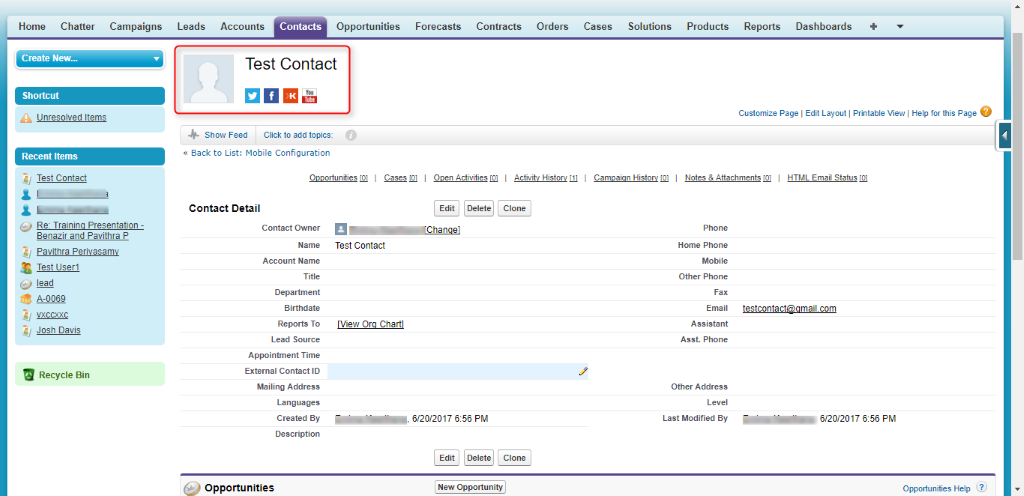
The same ‘Test Contact’ record can be seen in the Salesforce.
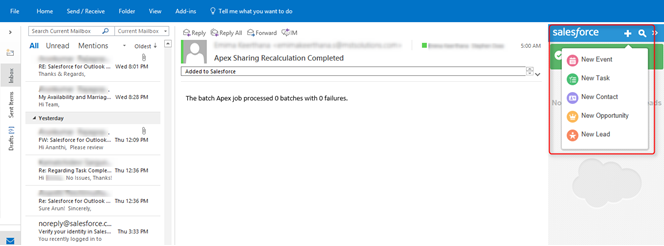
The side panel in the Outlook shows the Salesforce tab to search records. By choosing a record, we can add emails and attachments to the Salesforce.
By clicking Create Option in the side panel, we can create new Contacts, Cases, Tasks, Events, Opportunities and Leads.
Thus, using Salesforce for Outlook, we can sync the Contacts, Tasks and Events between Salesforce and Outlook. It enables us to create new Contacts, Events, Tasks, Cases, Opportunities, and Leads and helps us to access Salesforce records from Outlook.
Reference Link
http://resources.docs.salesforce.com/208/9/en-us/sfdc/pdf/sfo_getting_started_guide.pdf
https://help.salesforce.com/articleView?err=1&id=outlookcrm_sfo_about.htm&siteLang=en_US&type=0
