Salesforce Calendar View
As a Salesforce user, we can only view the Events and Calendar in the home page of the Salesforce. Every time the user needs to navigate to the Home Page to track the event details, it eventually increases the manual work. So we need to display the calendar and event details on the corresponding record page. Through the Simple Agenda View Lightning component (an app exchange app), this requirement can be accomplished.
Introduction:
Simple Agenda View component is a managed package available at free of cost in App Exchange. This component is used to display the calendar in the custom or standard object’s record page. Also, used to show the events records and its scheduled date and time details related to the currently selected records.
Simple Agenda View Component Installation:
- Go to AppExchange and install Simple Agenda View Component in your developer org.
- The installed package is now available in Installed Packages of your org.
Setup for The Simple Agenda View Component:
- To create a domain for your developer org.
Go to Setup -> My Domain -> Give domain name -> Test it -> Deploy it to user.
- To Enable the lightning Experience for your org.
Go to Setup -> Lightning Experience -> Enable Lightning Experience button.
Steps to Add Simple Agenda component In Object Record Detail Page:
- Go to the object -> Select the record.
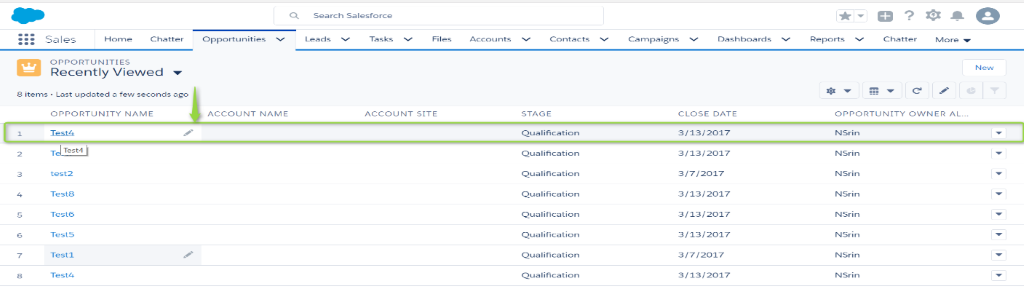
- In the record detail page -> Select the Edit Page from the Setup Icon.
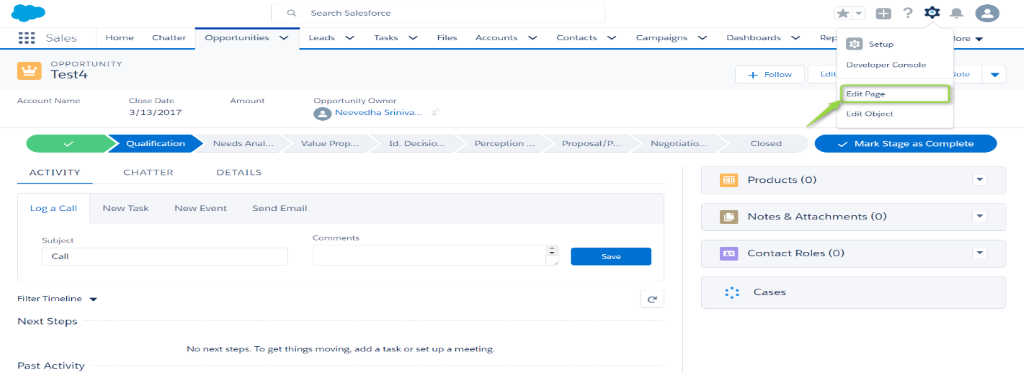
- Now we can edit the opportunity record page by following these steps
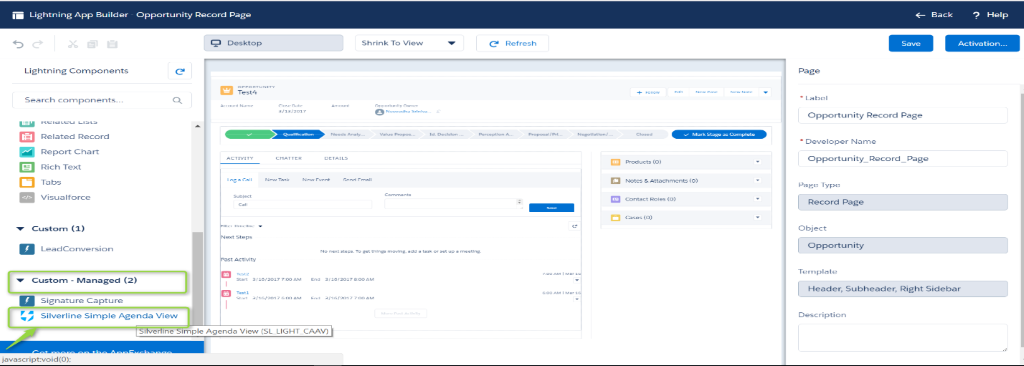
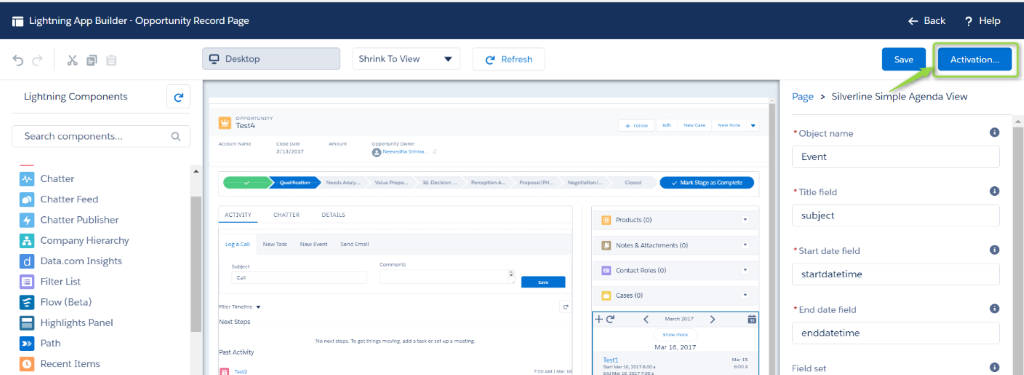
- Drag the simple agenda view component from Custom – Managed available in Lightning Components Pane -> Drop it to the desired section page in the Lightning Page Canvas.
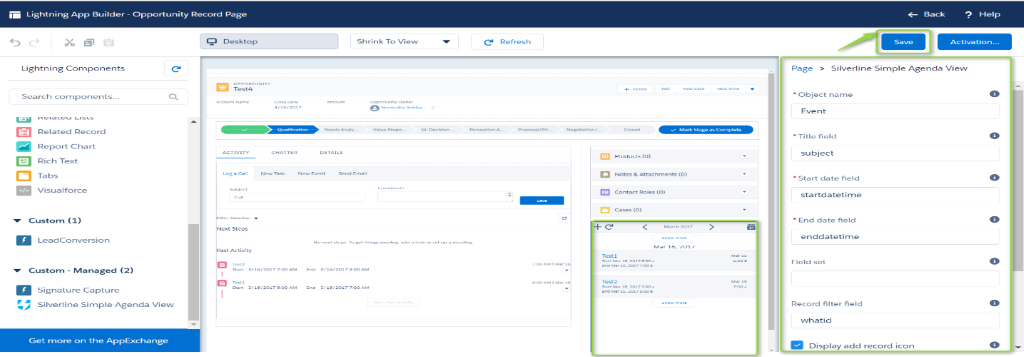
- After dropping the component -> Provide necessary values for the component parameters(fields) in the Properties Pane. Here are the possibilities to edit the Simple Agenda View parameters(fields) to customize the component. The following table gives the description of this Simple Agenda View component parameters:
| # | Field Name | Description |
| 1. | Object Name | The custom or standard object API Name |
| 2. | Title | The API name for the field in the given object that will be displayed as the title for the record. |
| 3. | Start date | The API name of the field which contains the start date of the record. This field formats like date, datetime or formula (date) field type |
| 4. | End date | The API name of the field which contains the end date of the record. This field formats like date, datetime or formula (date) field type |
| 5. | Field set | The API name of the created field set for the given object that determines what fields will be displayed for each record when detail arrow is clicked. |
| 6. | Record filter field | The API name of the lookup field (Parent object, EX: Choose Opportunity) on the object the calendar is based on. It works as a filter when the component is added to a record homepage. If this field is blank, all records for the object will be displayed i.e. no filter. Filter does not work on the home page. |
| 7. | Display add record icon | When this checkbox is enable, then add icon will be displayed on the top part of the component that allows users to create records. |
| 8. | Height | The height of the component in the page. |
| 9. | Heading | The heading of the component in the page. |
Note: When the component is first added to the page, default values will get populated. The user can edit the fields based on their needs.
- After filling in the component parameter values -> Click Save Button -> And Click the Activate button to activate this edited page.
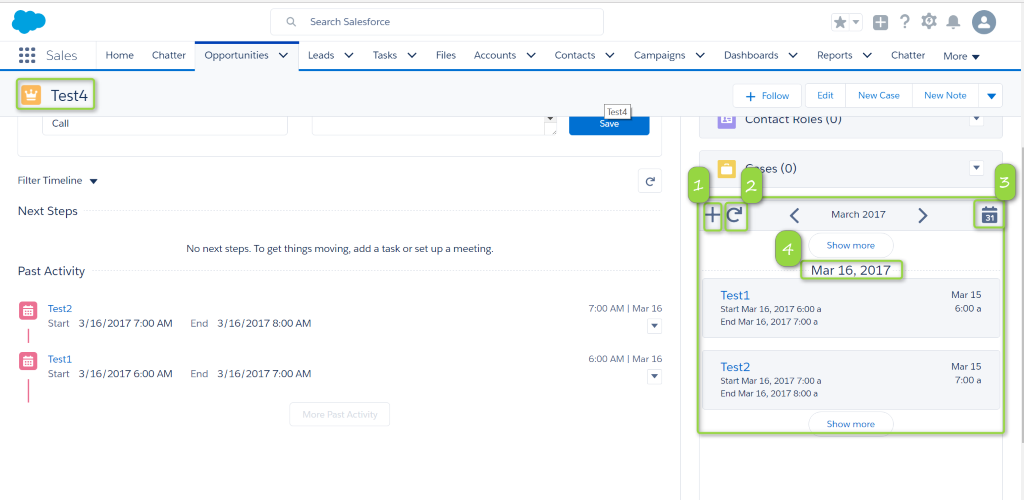
- Go to the record page -> In this component have the following icons.
- Click add (+) button — To create event records.
- Click refresh button – To refresh the component.
- Calendar – Show the event details.
- Display the date of the event
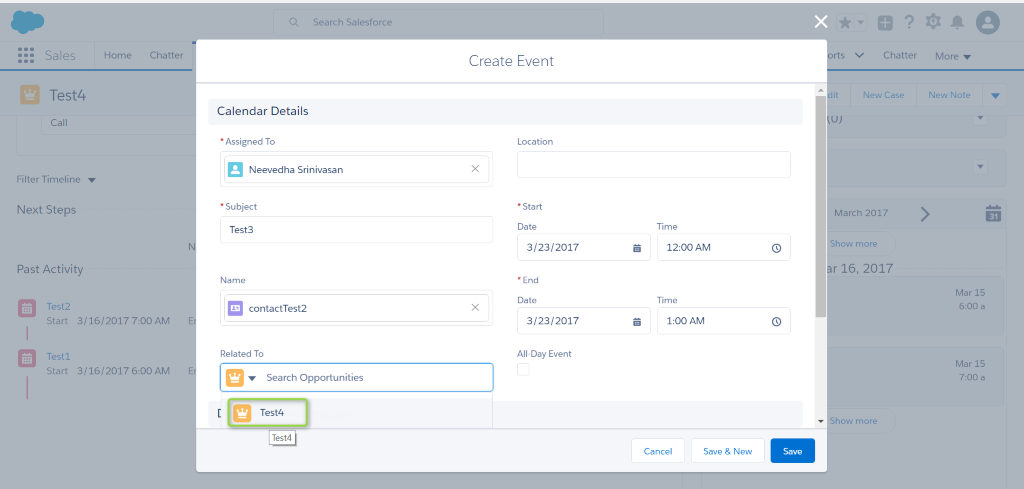
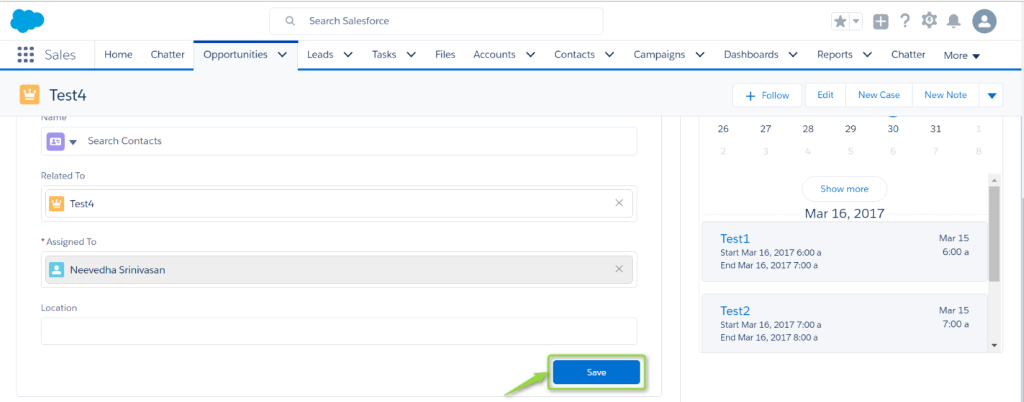
- Click add (+) button -> Fill in the all fields value -> Click Save Button -> In the component page, event will be displayed.

Note: Choose Related to field as opportunity -> Choose opportunity record because, here, we create the event for the opportunity object.
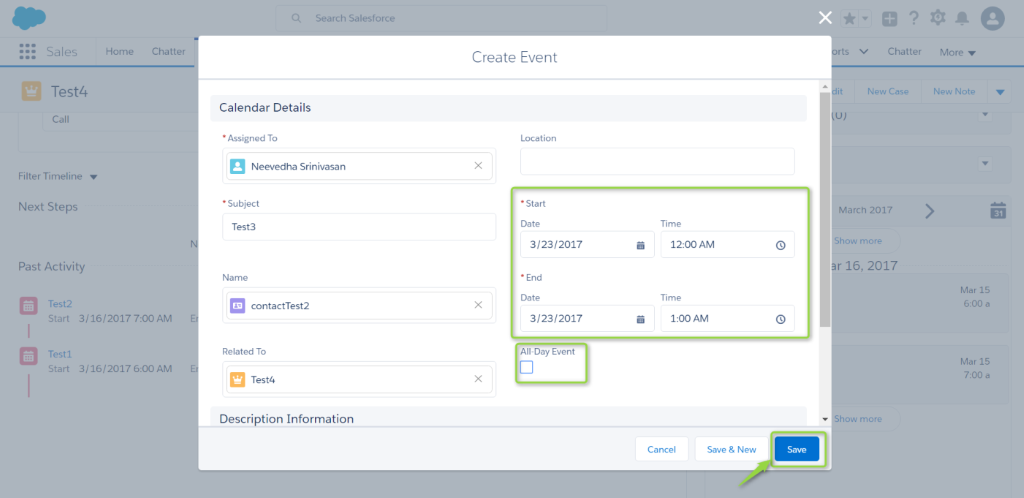
Note: Here is the feature to set event for all days by enabling All Day Event checkbox. Otherwise; we can create event for a date and time by entering the values in start date, End date and set the time.
- The Calendar icon in the component is used to display the event for the currently selected record. The event date is highlighted in blue color.
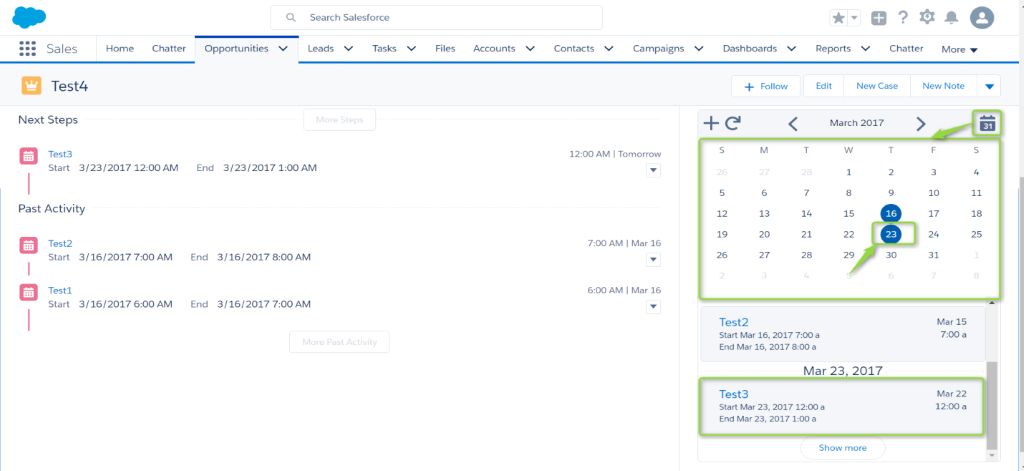
- This component also shows the events details, which are created in normal event related list in an opportunity object.

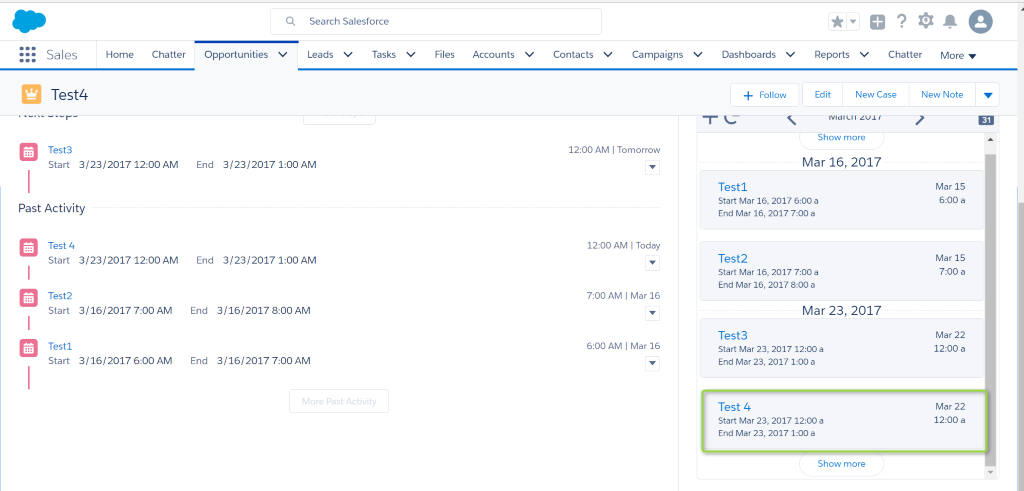
- Click New Event button -> Fill in the fields value -> Click the Save Button -> Click the Refresh Button in the Simple Agenda View component.
- Now the created record is displayed in the simple agenda view component.
Pros:
- Easy to add a calendar to the standard or custom object record page.
- Shows the event schedule date and time details related to the currently selected records.
- Can easily set fields, which are to be displayed in the record page by using field set value in the component parameter.
- Provides direct creation of an event record by clicking (+) icon.
Conclusion:
The Simple Agenda View Lightning component is simple, easy to install, and free of cost. With the help of this component, we can directly view the event details as calendar view in standard object or in custom object record page.
